PREPARATION OF THE LAYING SURFACE AND FIXING OF THE FIRST LINE OF TILES
Once the laying surface has been prepared and any watertight layers (sheaths) or insulating layers have been drawn up, chosen in such a way as to support the load deriving from the mantle and the axes of the rows of tiles necessary for a good alignment of the same, the starting metal grate must be fixed at the eaves line with chipboard screws or dowels, it provides support for the first row of roof tiles, guaranteeing the entry of air into the undercoat, blocking insects and birds.
(Depending on the height of the ventilation package and the height of the gutter, we recommend a gutter overhang of the material between 5 cm and 9 cm)
LAYING THE NEXT ROWS
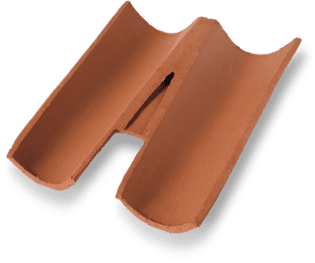
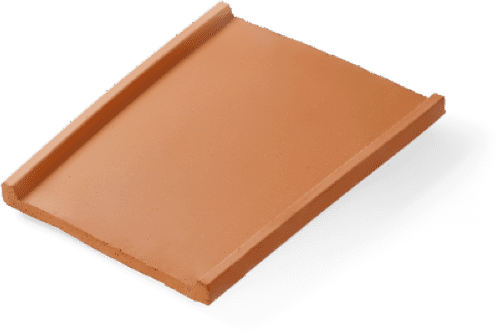
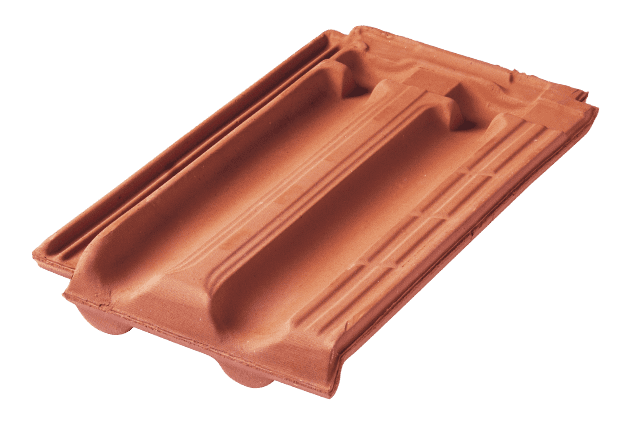
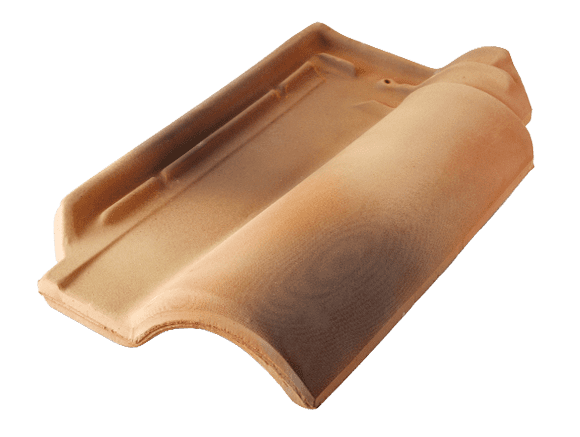
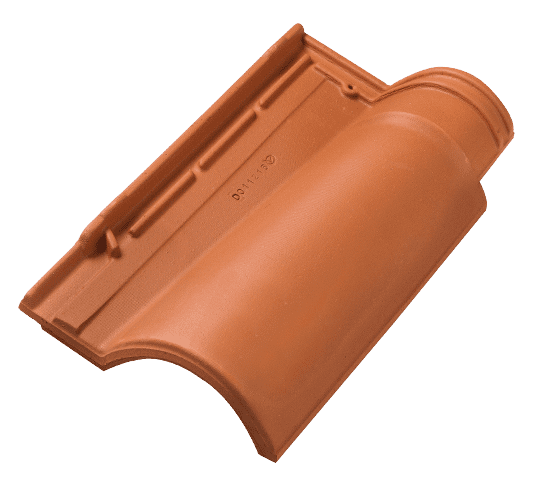
At this point, the successive rows of channel and deck tiles are laid, overlapping the pieces so as to guarantee watertightness (9 cm on average).
Once the ridge has been reached, once the ridge mesh has been laid, a tile will be inserted as the last row of channel which can be cut to the length necessary to complete the pitch.
METAL CAP AND RIDGES
To ensure watertightness, a metal cap will be fixed to the channel element of the last row and will be held in place by the final deck elements, each locked with a screw to the ridge grid or by means of a wire binding that joins the tile of one pitch to that of the opposite pitch. Finally, the ridges will be fixed to the grid, again with screws.
DIAGONAL CHANGES AND DEMANDING SLOPES
For the construction of diagonal hips, proceed as for the ridge, using diagonal caps with right or left fold. For pitches with demanding slopes, we recommend fixing the tiles with the use of flush metal hooks and in the presence of long pitches, the use of hook-shaped section breakers.
